¿Cómo pueden los organizadores programar campañas?
Paige Watson
Updated on 10 de marzo de 2026PeerSubmit allows organizers to schedule email campaigns to be sent automatically at a later time. Scheduling campaigns helps organizers plan announcements, reminders, and marketing messages in advance without needing to manually send them at the exact moment.
This feature is especially useful for sending submission deadline reminders, conference announcements, and promotional emails at the optimal time.

Step 1: Integrate an Email Provider
Before sending emails, organizers must connect an email delivery service.
- Go to Apps & Integrations.
- Choose an available email provider such as AWS SES or Mandrill.
- Add the required API keys or integration details.

Step 2: Create an Email Template
Email templates help organizers reuse common messages such as submission reminders, acceptance notifications, or conference updates.
- Navigate to Email Campaigns → Templates.
- Click Create Template.
- Add the template name and email content.
- Use personalization tags like {name} or {first_name} if needed.
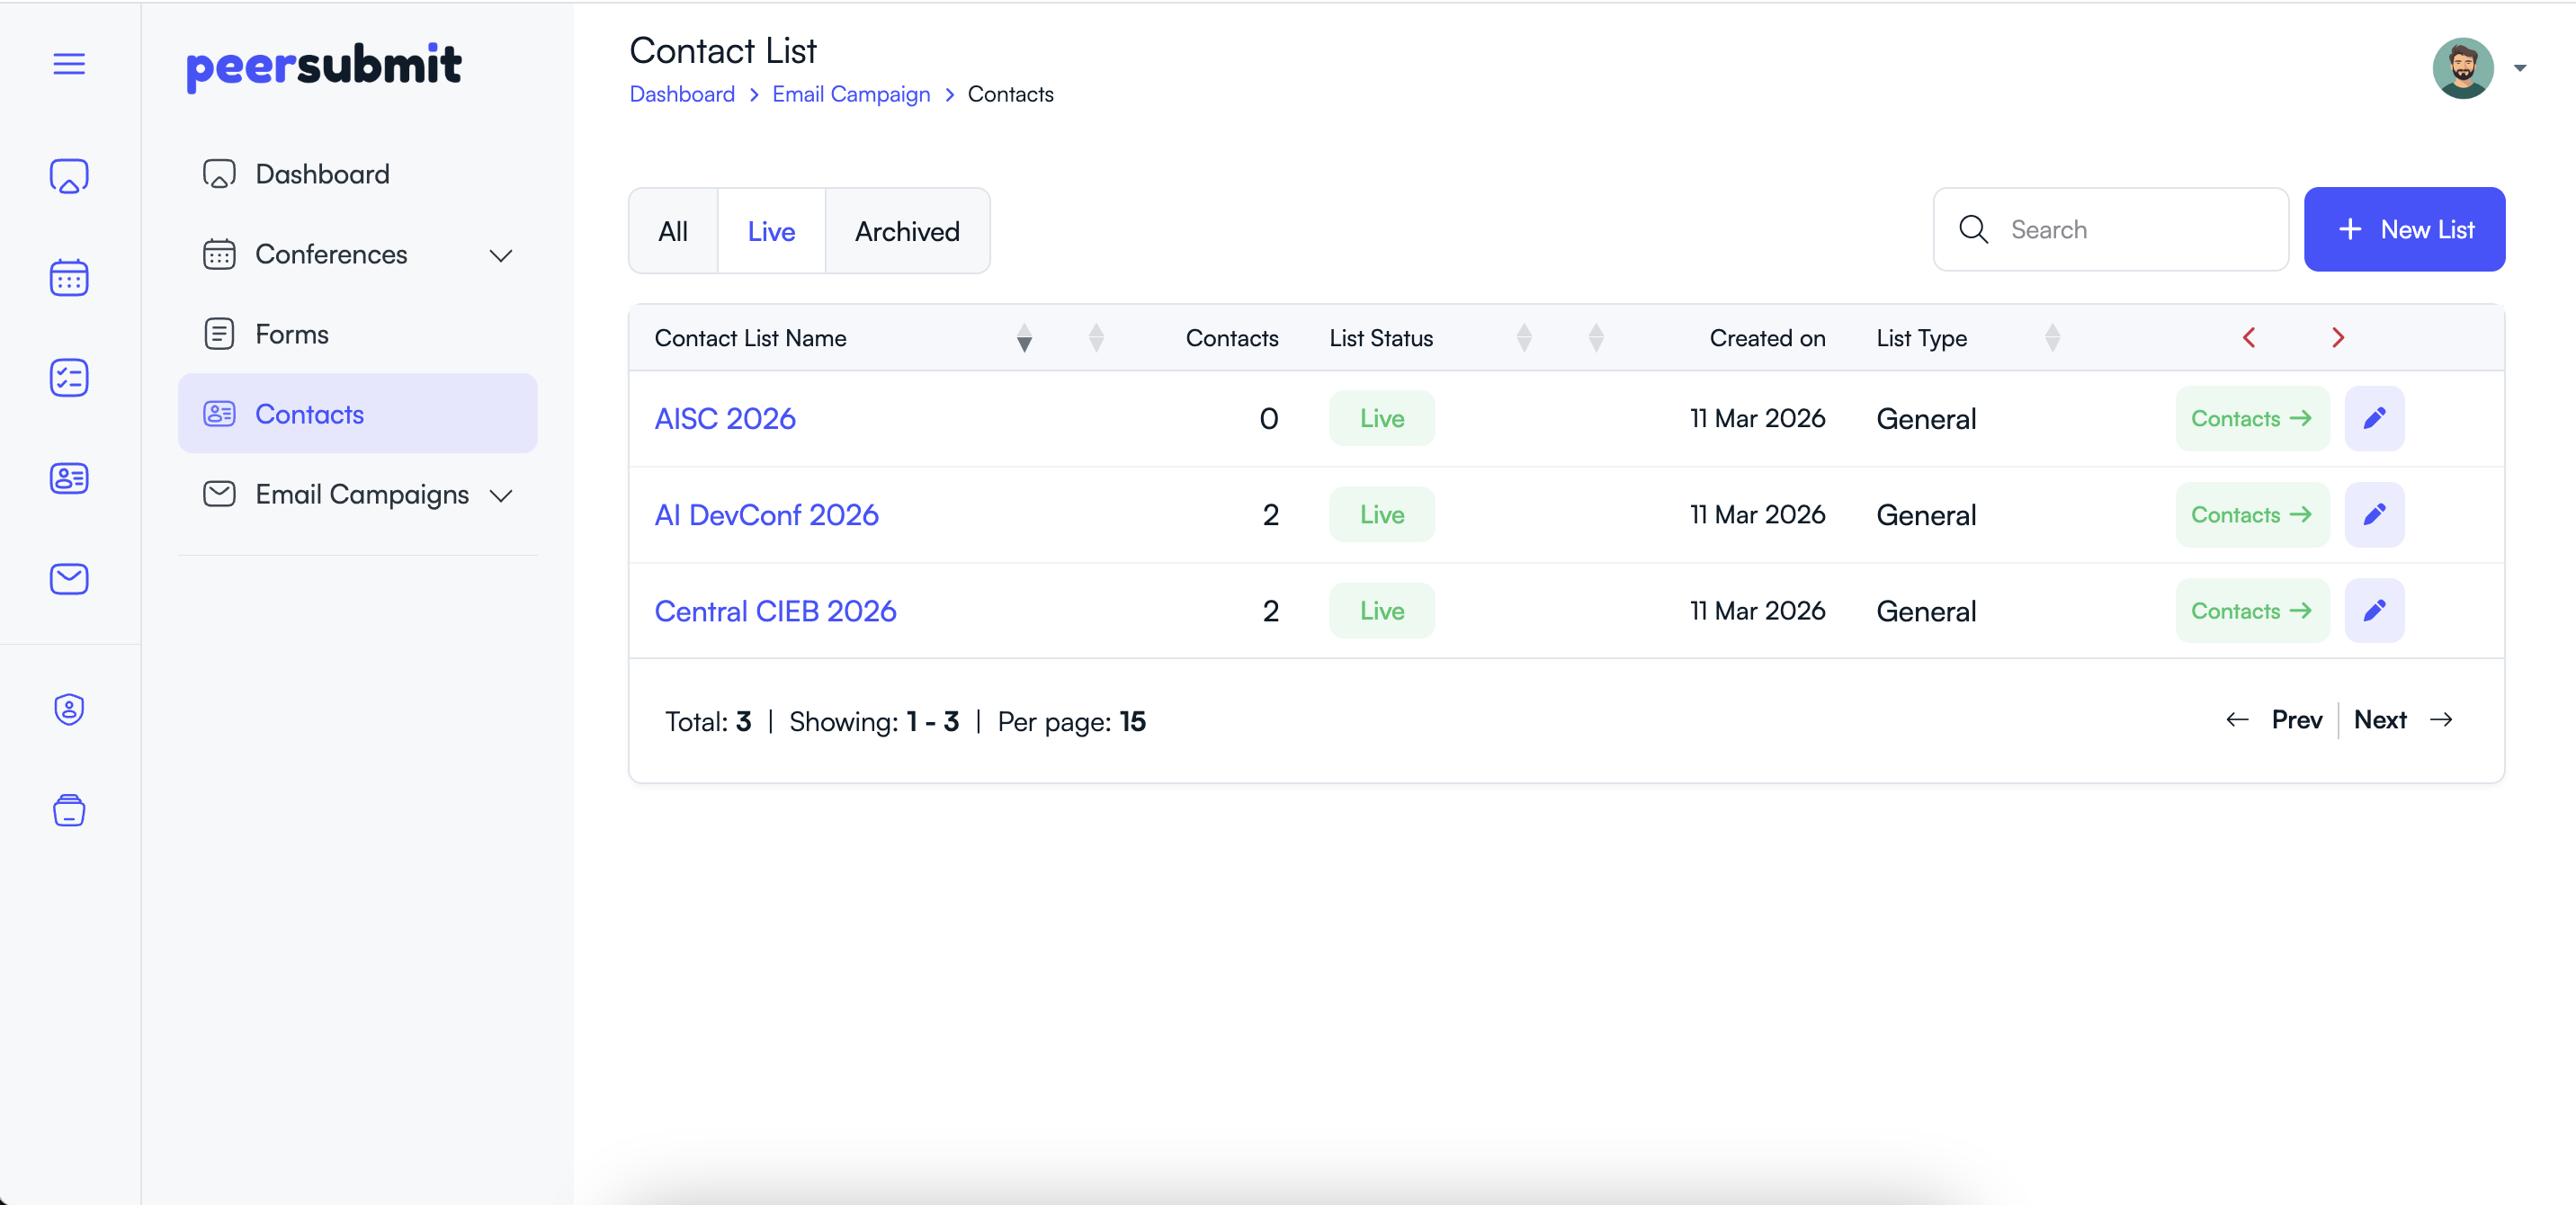
Step 3: Create Contact List and Import Contacts
Before sending a campaign, you need a contact list containing the recipients who will receive the email.
- Go to the Contacts section from the left sidebar.
- Click the New List button to create a new contact list.
- Enter a Contact List Name to organize your recipients.
- Save the contact list.
- Open the newly created list and click Add Contacts or Import Contacts.
- Upload contacts manually or import them using a CSV file.
- Verify the imported contacts and save the list.
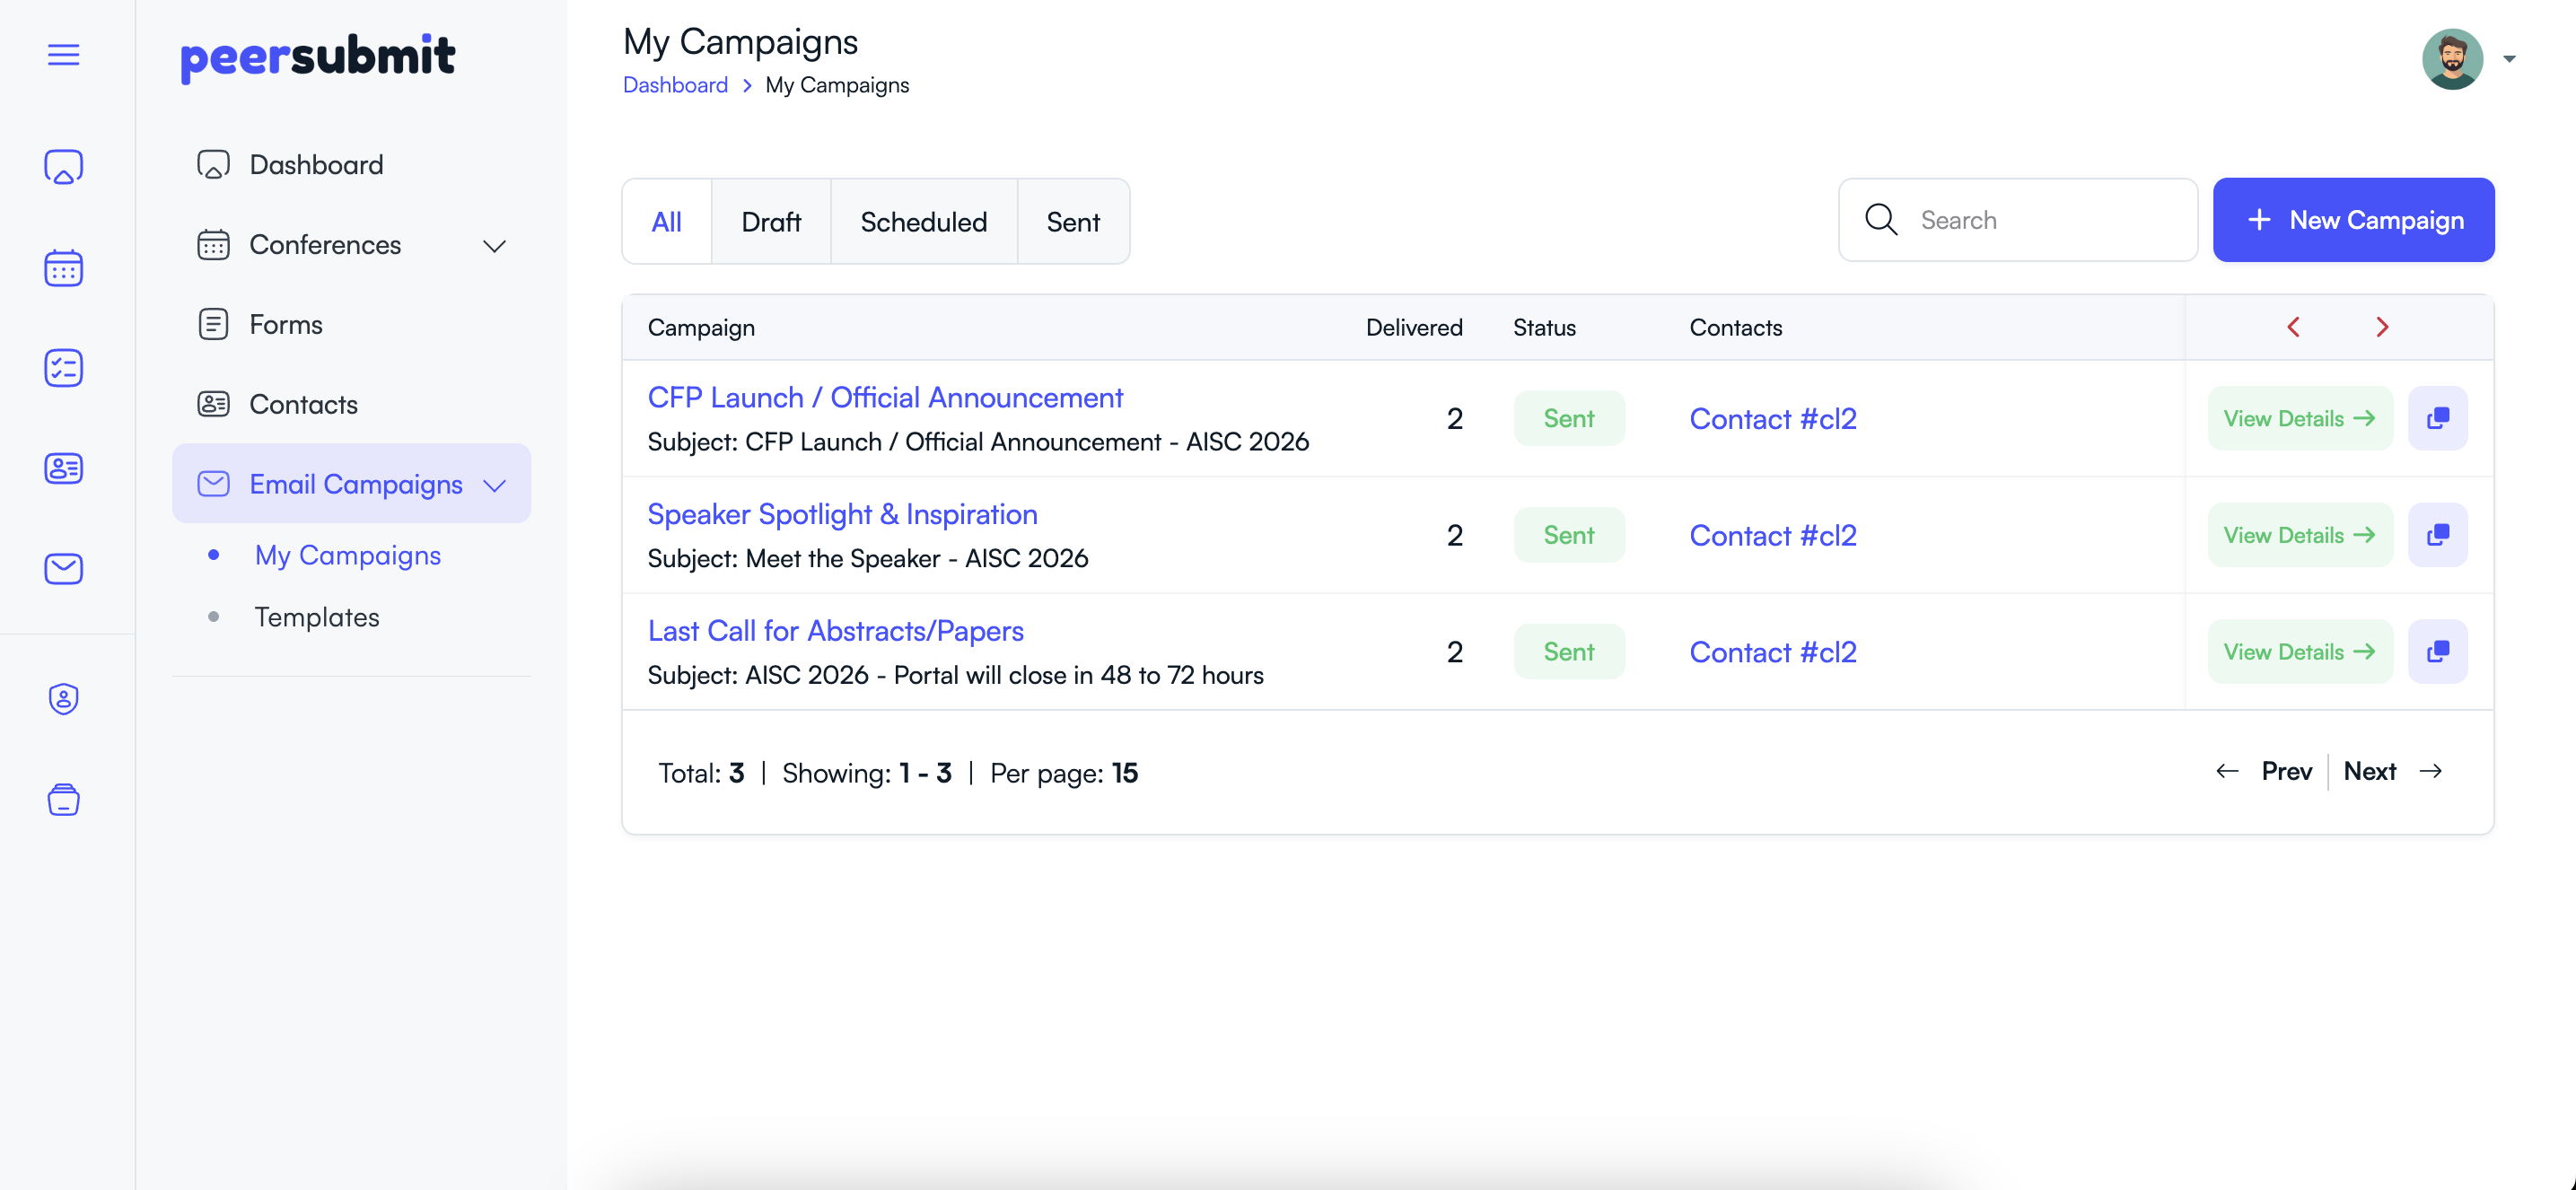
Step 4: Navigate to Email Campaigns
- Log in to your PeerSubmit organizer dashboard.
- From the left sidebar menu, click Email Campaigns.
- Select My Campaigns to view existing campaigns.
Step 5: Start a New Campaign
- Click the New Campaign button.
- The campaign creation page will open.
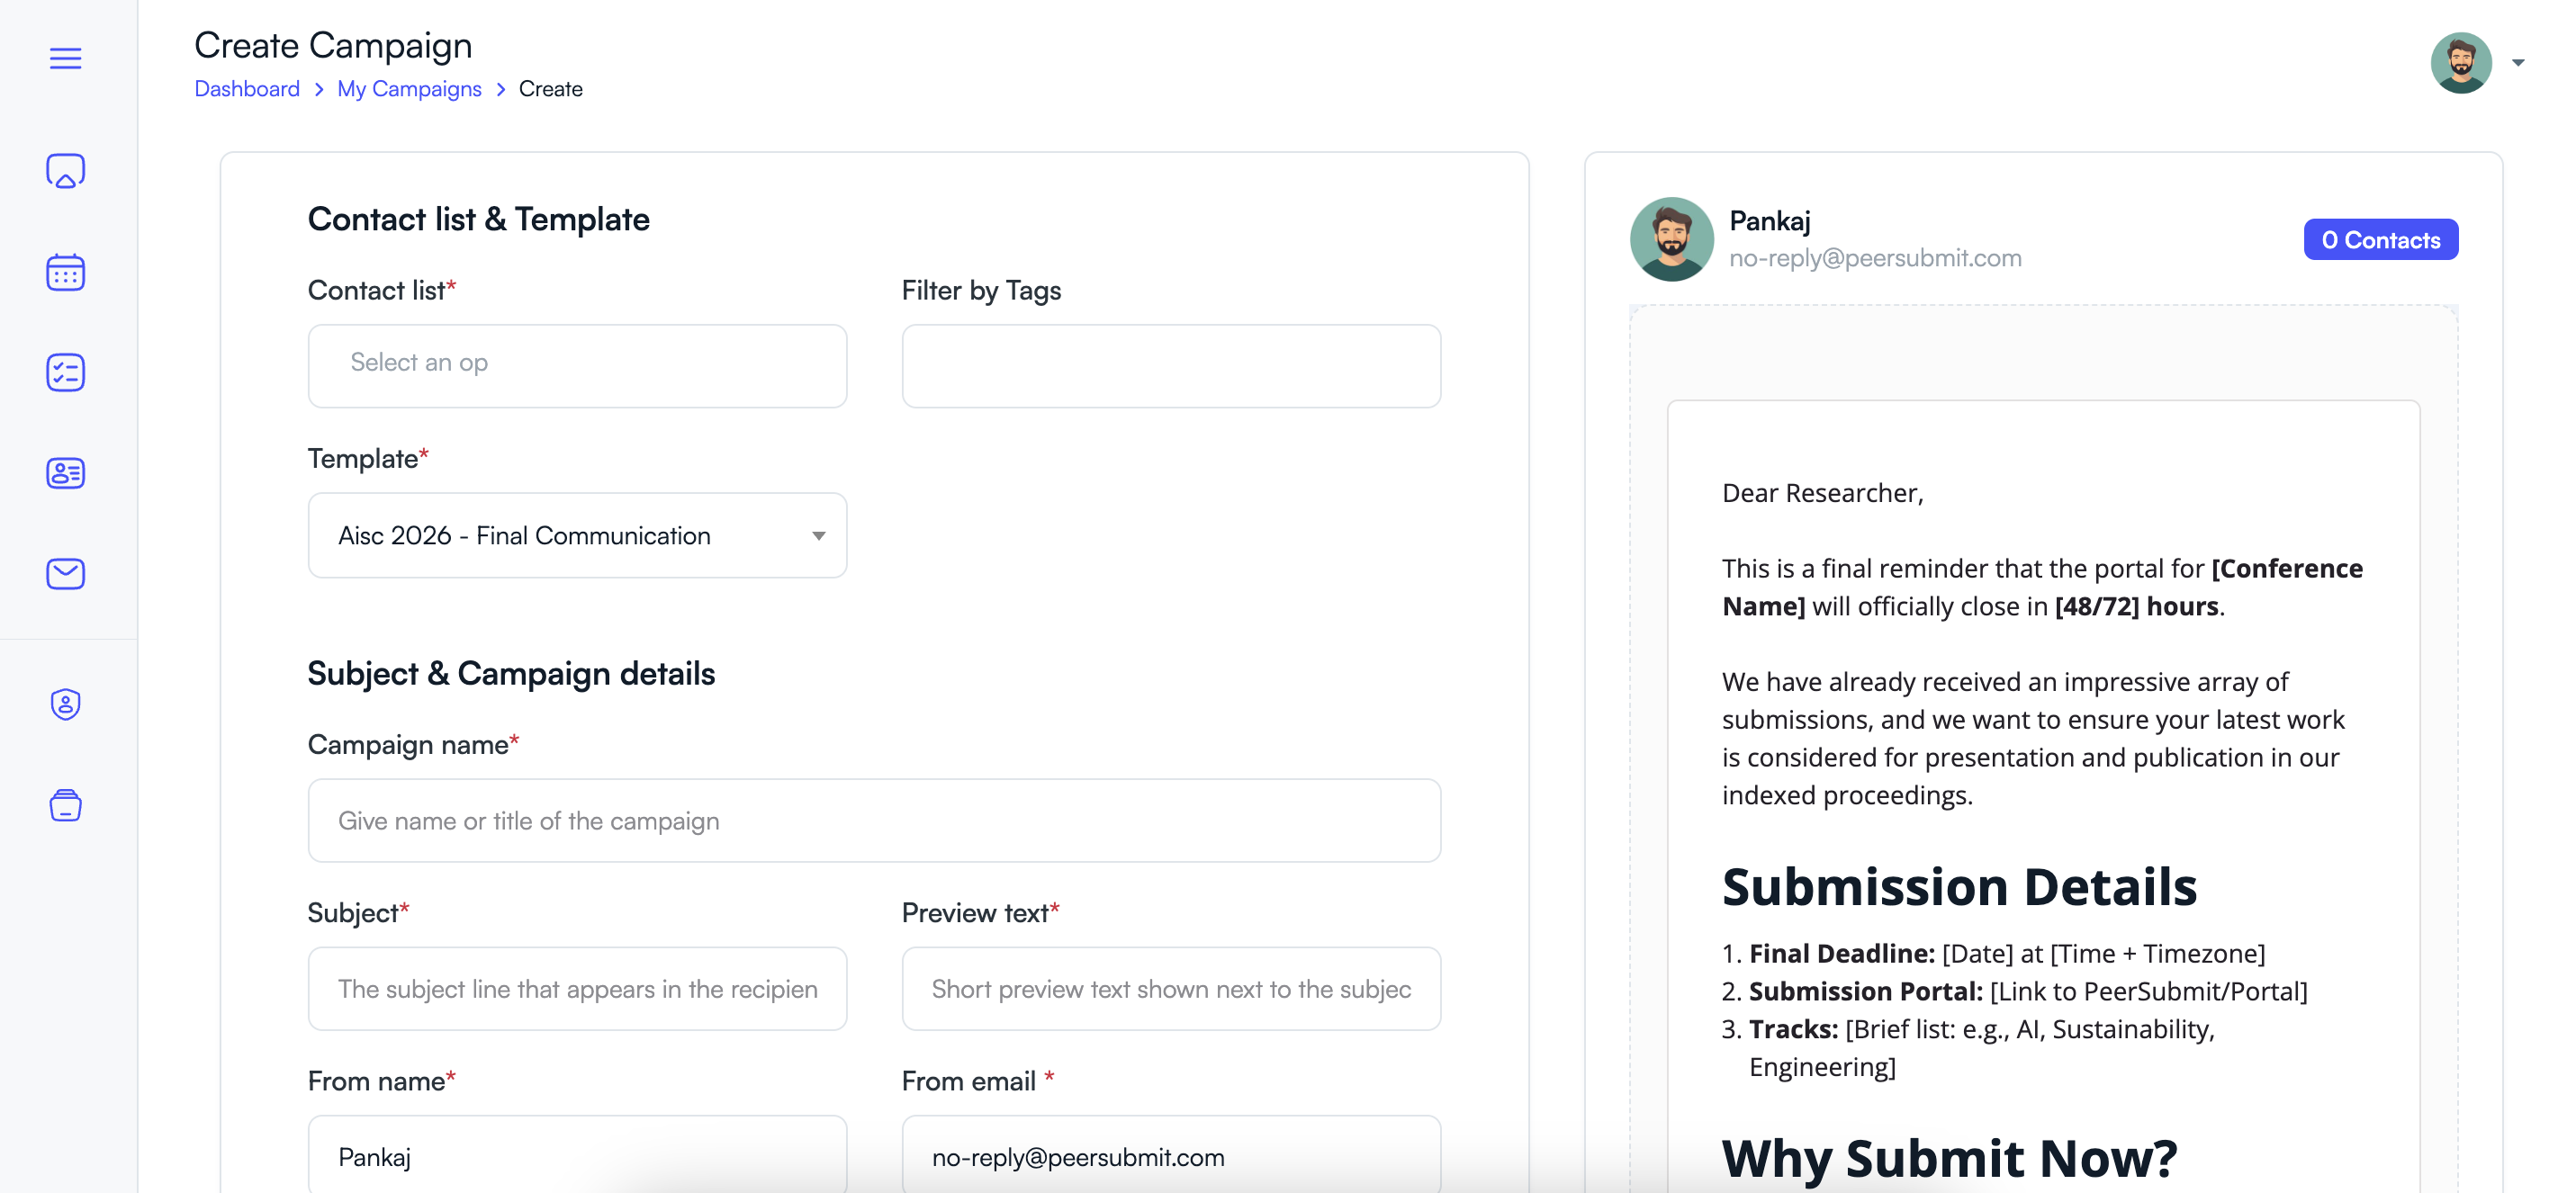
Step 6: Select Contact List and Email Template
Choose the audience and message template for your campaign.
- Select the Contact List that contains the recipients.
- Optionally filter contacts using Tags.
- Choose an Email Template that contains the message content.
Step 7: Configure Campaign Details
- Enter a Campaign Name for internal reference.
- Add the email Subject line.
- Enter the Preview Text that appears in the recipient’s inbox.
- Specify the From Name and From Email address.
Step 8: Review and Confirm
- Review the campaign preview.
- Verify the selected contact list and template.
- Click Schedule Campaign to confirm.
Benefits of Scheduling Email Campaigns
- Plan communication in advance.
- Send deadline reminders automatically.
- Ensure emails are delivered at optimal times.
- Save time by automating campaign delivery.
Scheduled campaigns help organizers maintain consistent communication with conference participants while reducing manual effort.
Related Articles
Comience a Gestionar su Conferencia: Desde el Envío hasta la Decisión
Únase a cientos de organizadores que confían en PeerSubmit para gestionar sus eventos académicos con eficiencia impulsada por IA y flujos de trabajo fluidos.
Sin tarjeta de crédito • Configuración en minutos
Organice su Conferencia Sin Caos
Gestione envíos, revisión por pares, registros y flujos de trabajo—todo en una sola plataforma diseñada para eventos académicos.
Únase a cientos de conferencias académicas que ya utilizan PeerSubmitSin tarjeta de crédito • Configuración en minutos