How do organizers create a new conference?
Paige Watson
Updated on 10 March 2026Creating your first conference in PeerSubmit allows you to manage submissions, reviewers, speakers, and communication from a single platform. PeerSubmit provides a structured workflow that helps organizers set up their event quickly and start accepting submissions with minimal configuration.
This guide walks you through the key steps required to create and configure your first conference using the PeerSubmit dashboard.
Step 1: Open the Conferences Section
After logging in, you will land on the main dashboard where you can manage all your conferences and platform tools.
- Navigate to the Conferences section for new organiser/admin or Navigate to View Conferences for repeated organiser/admin.
- Click Create Conference.
- You will be taken to the conference creation form.

Step 2: Enter Basic Conference Details
The first step in setting up a conference is entering the basic information about the event.
- Enter the conference title.
- Select the correct timezone.
- Define the start and end date of the conference.
- Write a short conference summary.
- Add detailed information in About the Conference.
- Select the primary and secondary academic fields.
Once all required fields are completed, click Create Conference.

Step 3: Configure Conference Settings
After creating the conference, you can configure additional settings that define how submissions and reviews will work.
- Update conference description and information.
- Define submission guidelines.
- Add venue details and event banner.
- Configure search engine optimization (SEO).

Step 4: Add Conference Team Members
Conference organizers often work with a team of chairs, reviewers, and coordinators. PeerSubmit allows you to invite collaborators and assign roles.
- Go to Access & Roles in conference settings.
- Click Add Team.
- Assign roles such as Program Chair, Reviewer, or Organizer.
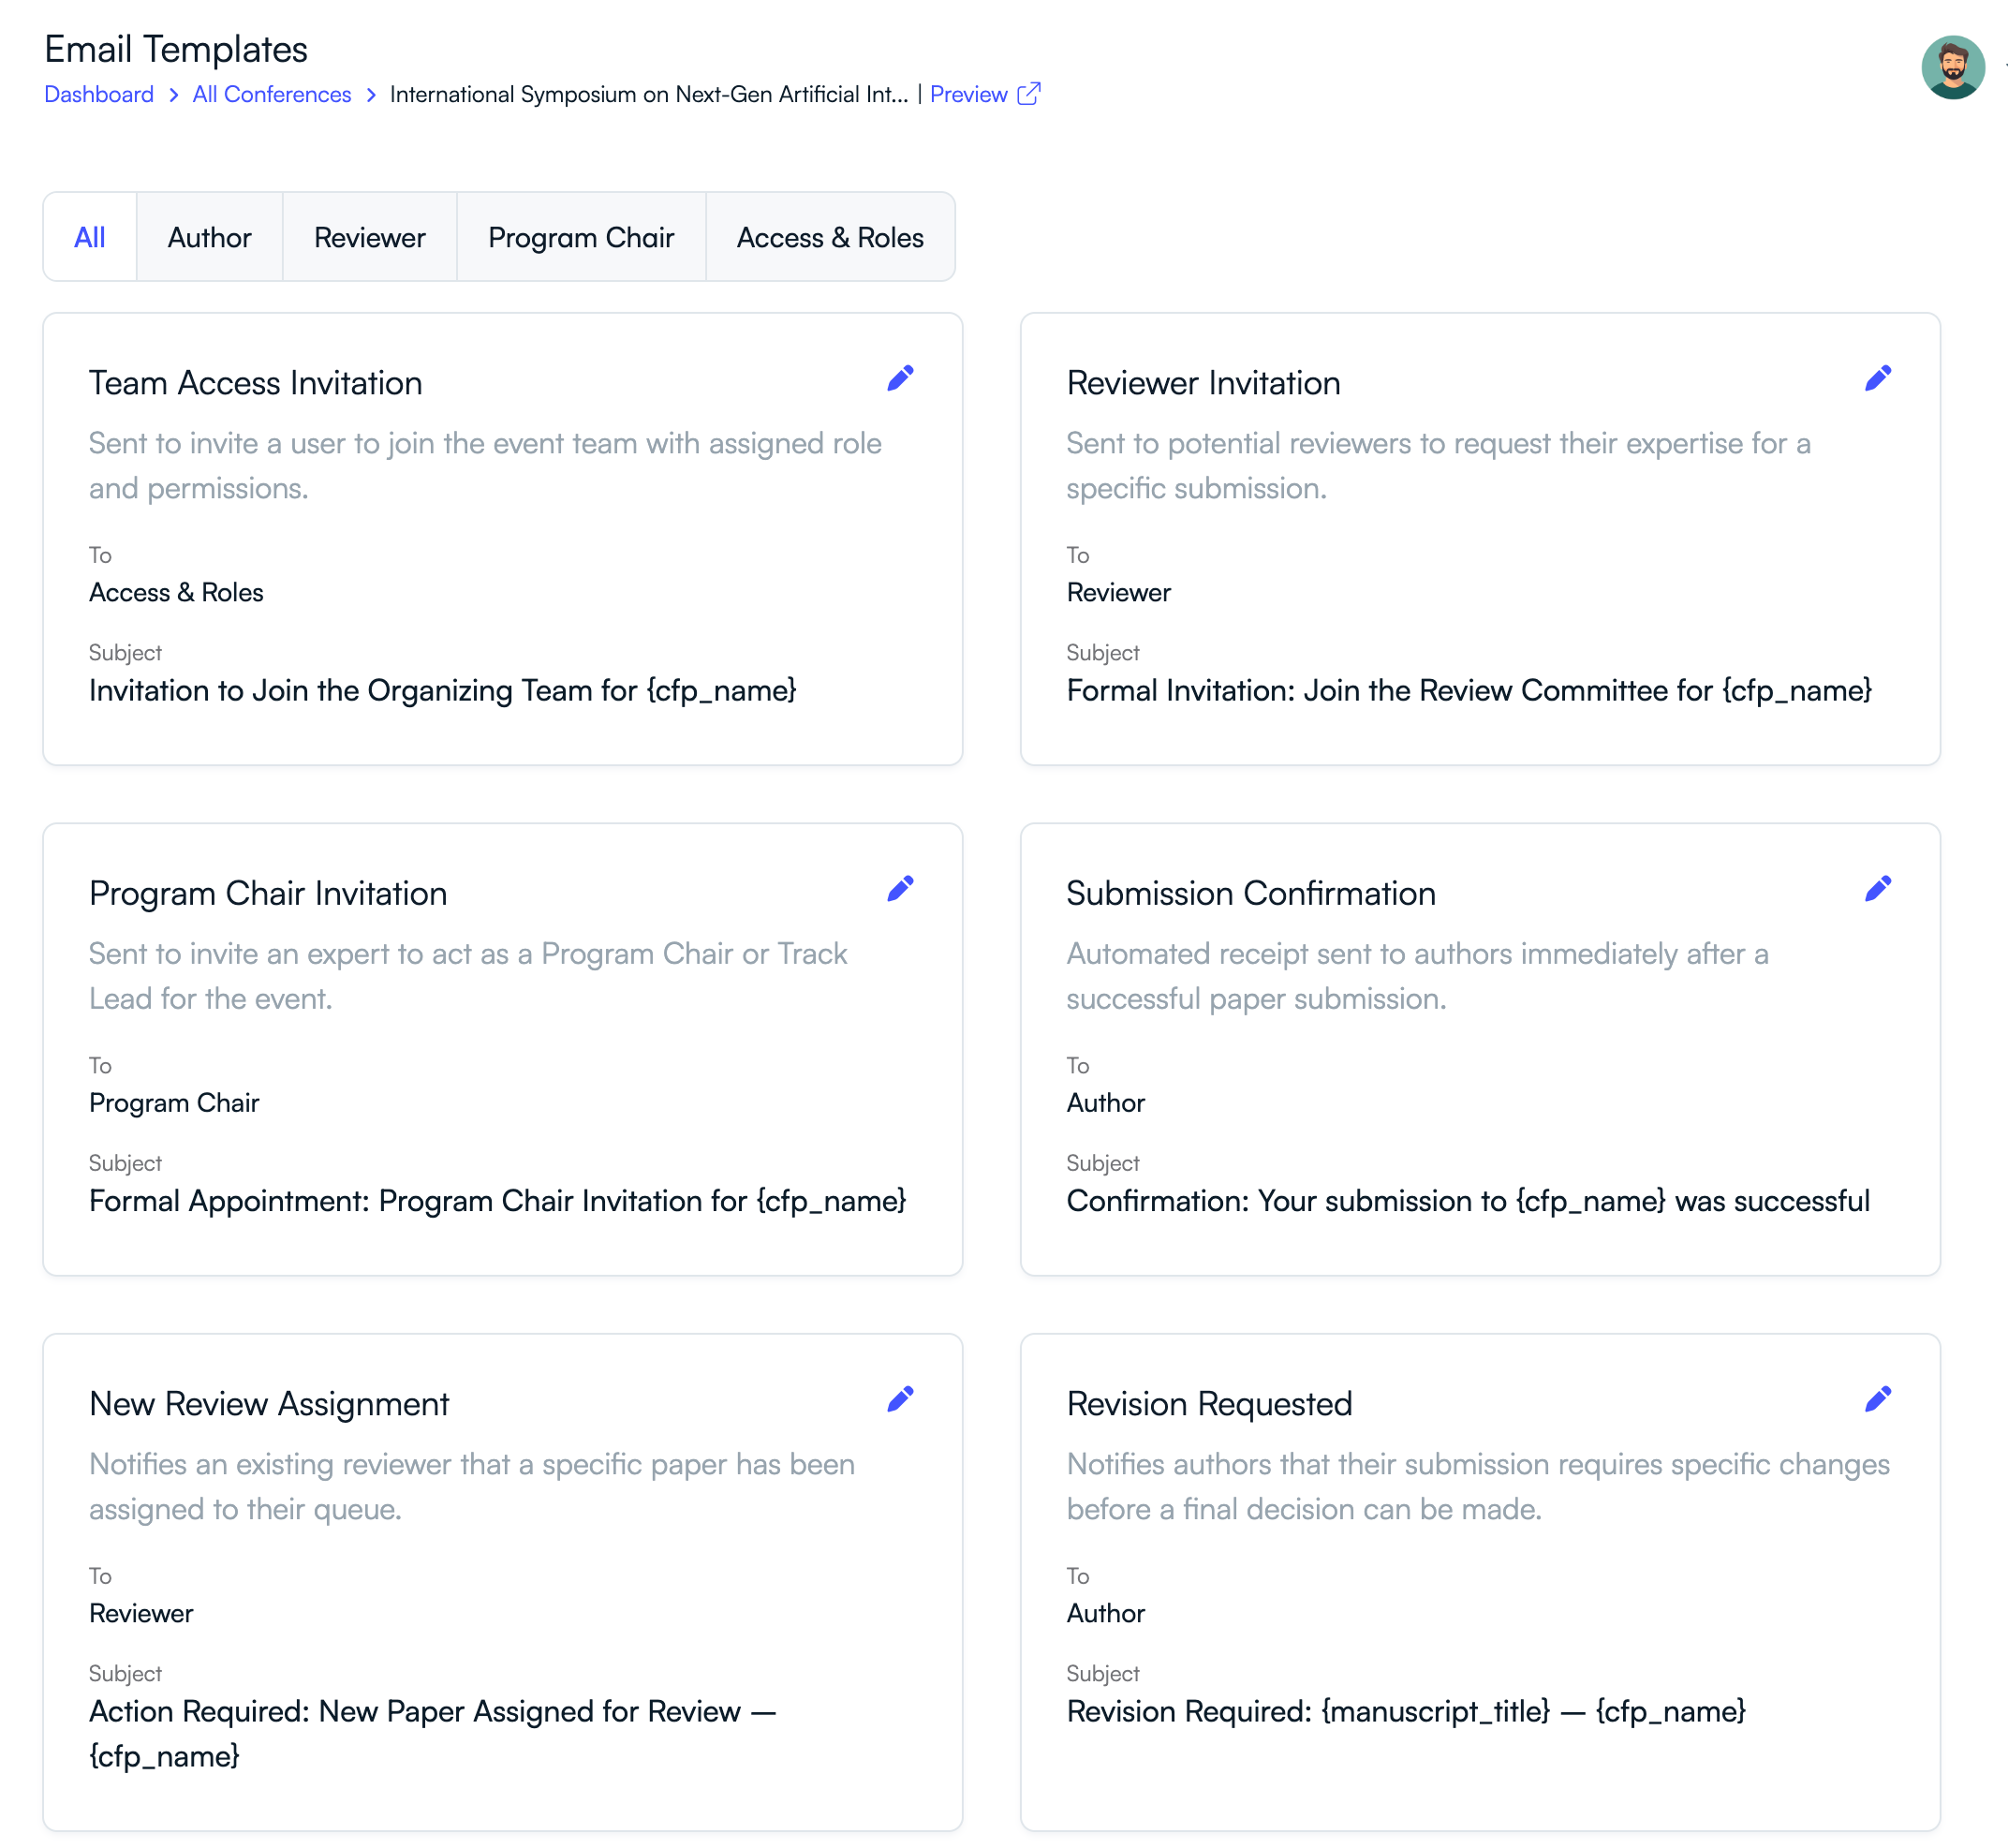
Step 5: Customize Email Templates
PeerSubmit provides automated email templates that are sent during the submission and review process.
- Edit invitation emails for reviewers and program chairs.
- Customize submission confirmation emails.
- Update acceptance and rejection notifications.

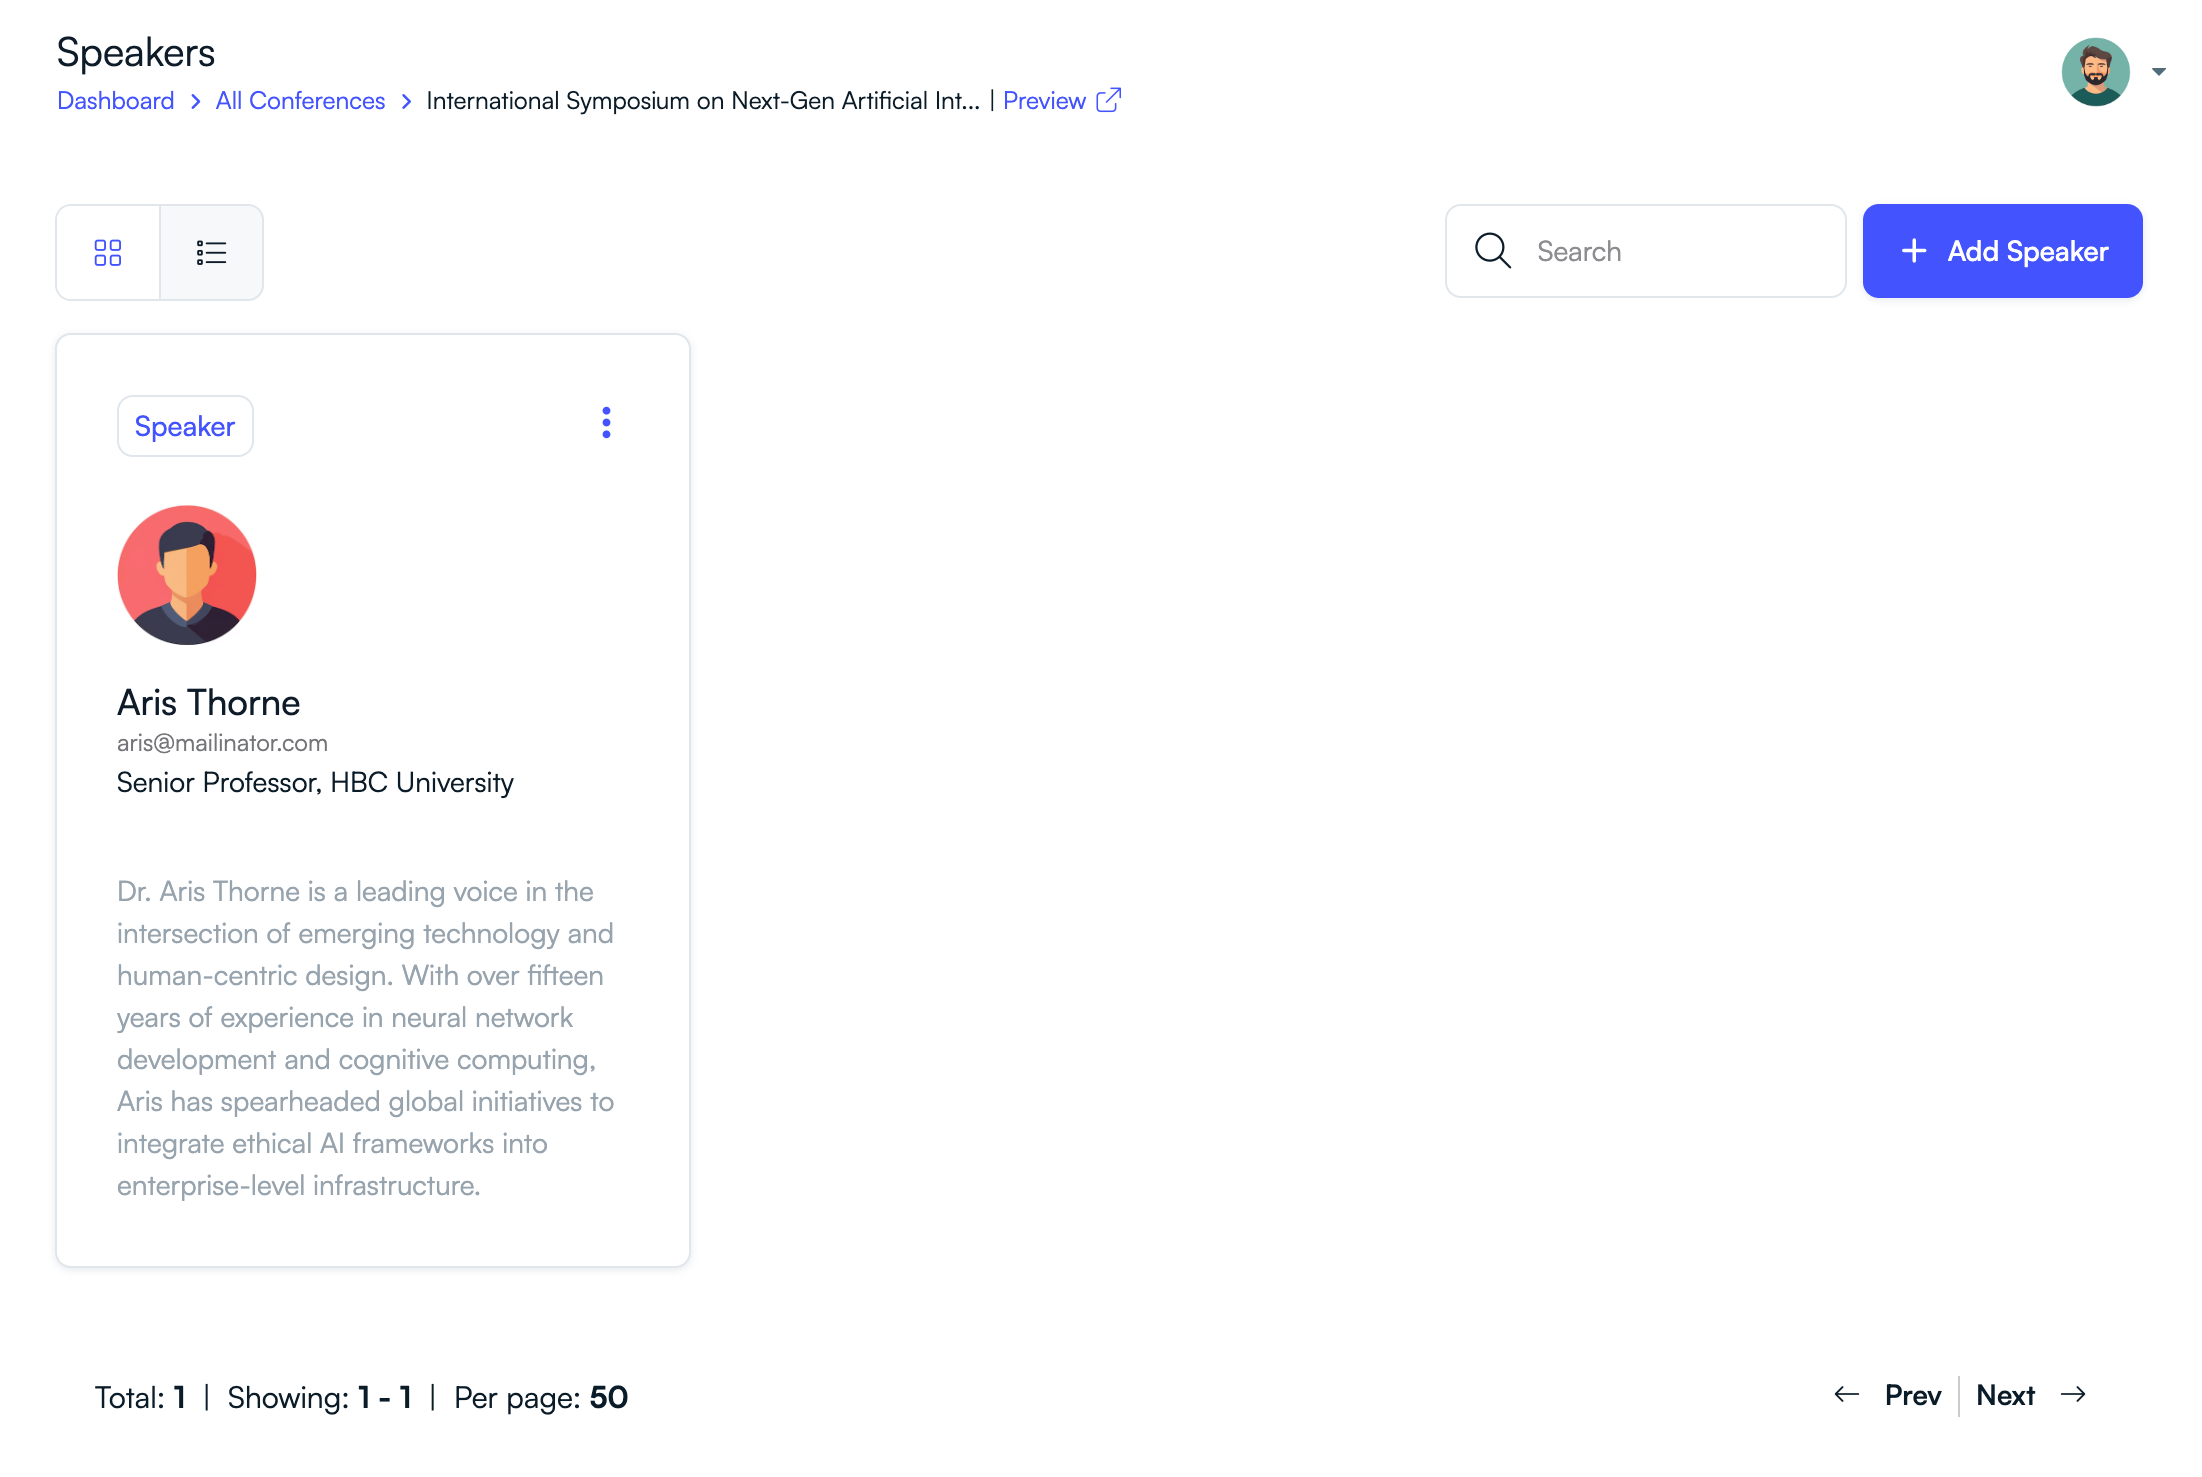
Step 6: Add Speakers and Event Details
You can also showcase keynote speakers and invited experts on your conference page.
- Open the Speakers section.
- Click Add Speaker.
- Upload speaker details and biography.
Step 7: Monitor Conference Activity
Once your conference is live, the overview dashboard helps you track submissions, reviews, and participant engagement.
- View submission statistics.
- Monitor reviewer activity.
- Analyze page visits and engagement.

Next Steps After Creating Your Conference
After configuring your conference, you can start inviting reviewers and promoting your Call for Papers (CFP).
- Publish the Call for Papers page.
- Invite reviewers and program committee members.
- Start receiving paper submissions.
- Manage reviews and final decisions.
PeerSubmit provides a complete workflow to manage academic conferences, from submission to final acceptance.
Related Articles
Start Running Your Conference—From Submission to Decision
Join hundreds of organizers who trust PeerSubmit to manage their academic events with AI-powered efficiency and seamless workflows.
No credit card required • Setup in minutes
Run Your Conference Without the Chaos
Manage submissions, peer review, registrations, and event workflows—all in one platform built for academic conferences.
Join hundreds of academic conferences already using PeerSubmitNo credit card required • Setup in minutes